Simple Tips to Keep Your Area Rugs Fresh
August 21, 2025
Carpet Cleaning FAQs We Get All the Time
October 7, 2025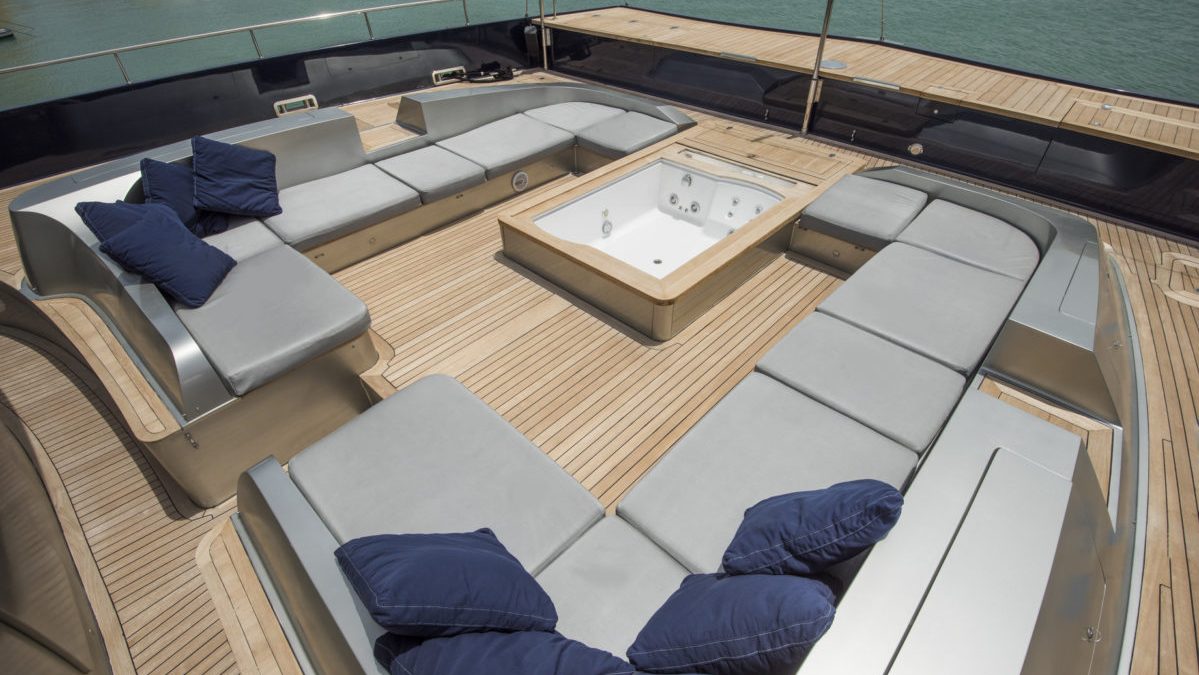
Why Bother With Reupholstery?
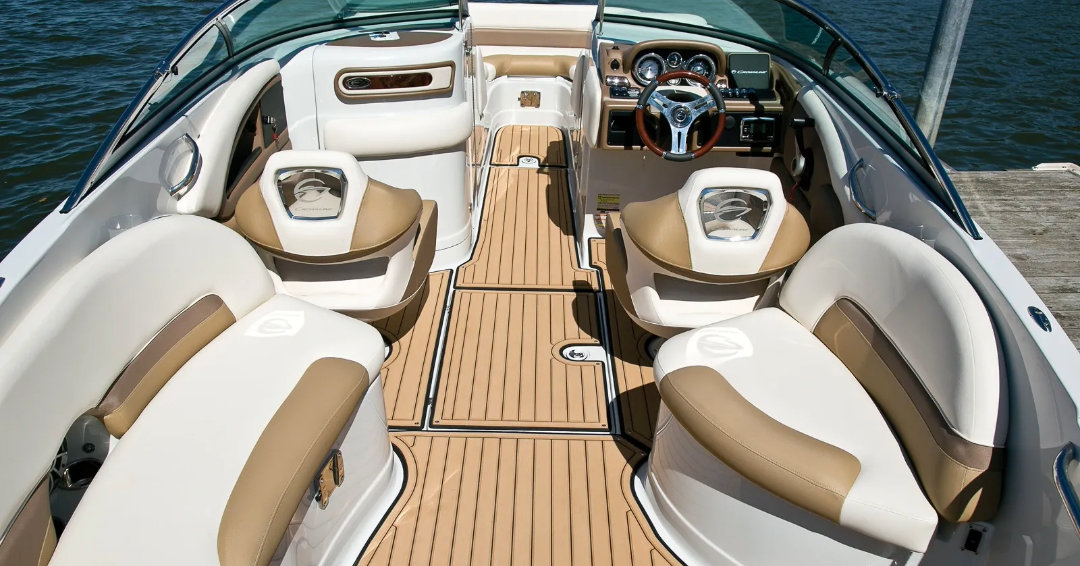
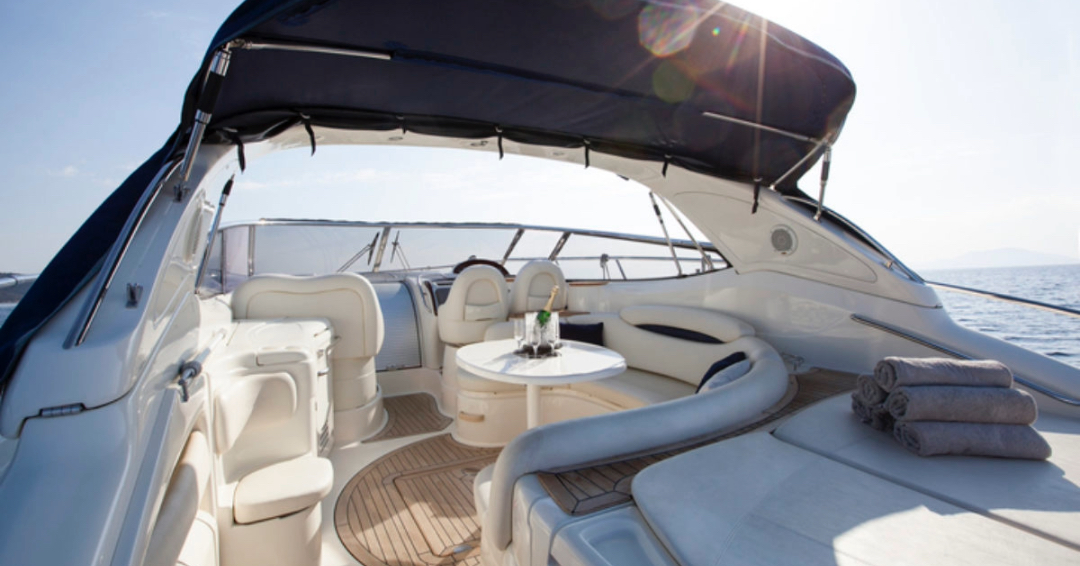
Boat seats take a beating, sun, water, and constant use eventually leave vinyl cracked, faded, or worse, torn. Buying new seats is expensive, but with a little patience, some marine-grade vinyl, and basic tools, you can give your boat a fresh, comfortable look in just a few hours.
Step 1: Remove the Seat and Old Upholstery
You can start by unbolting the seat from its mounting points. Most are secured with a few screws or bolts. Use a flathead screwdriver or staple remover to pry out the old staples holding the vinyl to the wood backing. Peel off the fabric and pull out any remaining staples with pliers. If the foam or plywood is wet, mouldy, or rotted, replace it before continuing.
Step 2: Use the Old Fabric as a Template
Your old seat cover is the perfect pattern. Label each piece (top left, bottom right, etc.) before separating the seams with a razor blade or seam ripper.
Lay the pieces flat on your new marine-grade vinyl and trace carefully. Leave a little extra margin to account for stretching and adjustments. Mark centers and fold lines; these help when sewing and aligning the fabric later.
Step 3: Choose the Right Materials
Not all vinyl is the same. For marine conditions, you need vinyl that is:
UV resistant (to prevent fading and cracking)
Mildew resistant
Backed with polyester for strength
esigned to handle water and sun
Pair it with stainless steel or Monel staples and strong nylon or UV-safe thread. Cheap indoor materials won’t survive a single season on the water.
Step 4: Sewing the New Covers
Start by sewing any middle seams, leaving at least ¼ quarter-inch allowance for stapling later. When attaching side panels, pin them carefully; curves are tricky, so relief cuts or trimming excess fabric may be needed to keep the vinyl smooth.
Keep seams small and tight. Large seams will bunch up around curves, while neat ¼” seams give you that smooth, professional look.
Step 5: Stretching and Stapling
With your new cover ready, align it on the wood backing. Begin by stapling the center points on each side, then work outward. Alternate sides as you staple to keep tension even.
Pull the vinyl tight as you go; most of the final look depends on how evenly you stretch the fabric. Don’t be afraid to pull out staples and redo a section if it looks wrinkled. Tap in any staples that don’t sit flush with a hammer.
Pro tip: keep the protective plastic wrap around foam cushions or replace it with new plastic to stop waterlogging.
Step 6: Finishing Touches
Once the fabric is stapled, trim excess vinyl for a clean edge. If you want a more polished look, you can add piping around seams, but it’s optional.
Reinstall the seat on your boat and enjoy the upgrade. A single seat often takes about 2–3 hours to finish once you’ve got the hang of it.
Maintenance After Reupholstery
Your new seats will last longer if you:
Clean with vinyl-safe soap (avoid harsh chemicals).
Apply UV protectant regularly.
Cover seats when the boat isn’t in use.
Avoid sharp objects or sunscreen stains on the vinyl.
When It’s Better to Hire a Professional
DIY reupholstery can save you hundreds, but sometimes it’s worth bringing in a pro. Consider hiring someone if:
The wood backing or seat frame is rotted and needs rebuilding.
The cushions are custom-shaped, curved, or have complex piping.
You don’t have access to a heavy-duty sewing machine for thick vinyl.
You want factory-grade results that match your boat’s original upholstery.
You simply don’t have the time (full seat sets can take many hours).
Bottom line: With the right materials and patience, reupholstering boat seats is a rewarding DIY project that boosts comfort and style. However, if your seats are severely damaged or your goal is a flawless factory look, a professional upholsterer is a worthwhile investment.